Wednesday 30 June 2010

Great news!!


You may remember I submitted the above card for the Little Claire Designs Design Team call. Well today I received an email inviting me to join their Design Team! I can't believe I have been selected. I'm already looking forward to receiving my first set of stamps so I can crafting.

They are recently set up a blog too, why not have a look.
Little Claire Designs blog

Tuesday 29 June 2010

Choo-choo!


This is a birthday card I make using two of my favourite things my Cricut and Stampin' Up products.

I began by cutting out the train, red background panel, blue panel for the sky and the greeting using my Cricut.

Along the sky panel I used my Stampin' Up 'Funky Forest' wheel to stamp the row of trees. For the green grass section I tore two panels of green card. I mounted these onto the blue sky panel. The train track was another Stampin' Up wheel stamp - 'Right on Track'.


I attached the red background panel onto a card blank. Onto this I attached the sky and grass panels. Lastly I added the train and the greeting. I coloured the train wheels in with a silver Sakura pen.

Monday 28 June 2010

Another winner!

I've won the Craftwork Cards sketch 2 challenge today! Yippee!!!!

Saturday 26 June 2010

Stamp With Us Colour Challenge


This is my card for this fortnights Stamp With Us blog challenge.

The challenge was a colour challenge so I used Ruby Red, Pumpkin Pie, Regal Rose, Rose Red and So Saffron card as these were most representational of the colours in the inspirational photo.


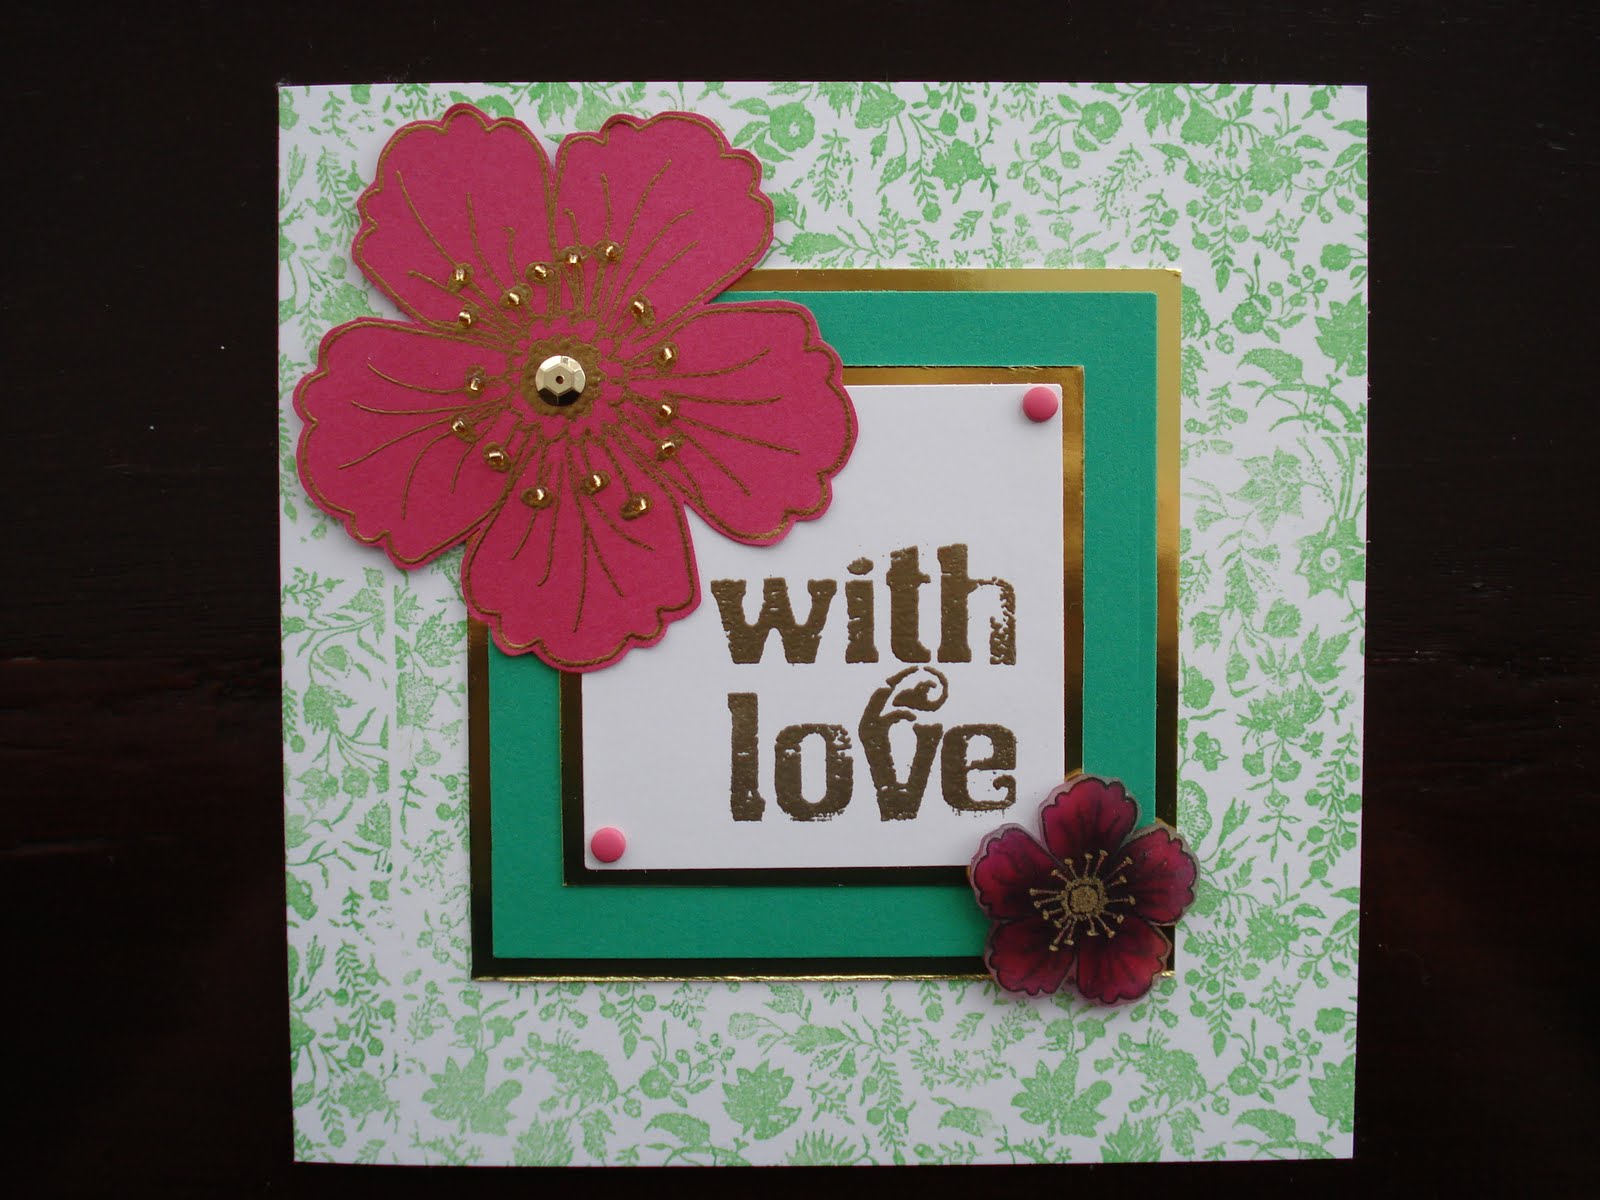
I punches all the elements of the bird out from pink and red card shades. I used So Saffron for the branches. Both these parts were punches using the two step bird punch. The small small flowers were also punched, I used Pumpkin Pie card for these. I attached punches items to a panel of white card using a Quickie Glue pen. I added gold Dimension Pearls to the centre of the flowers.

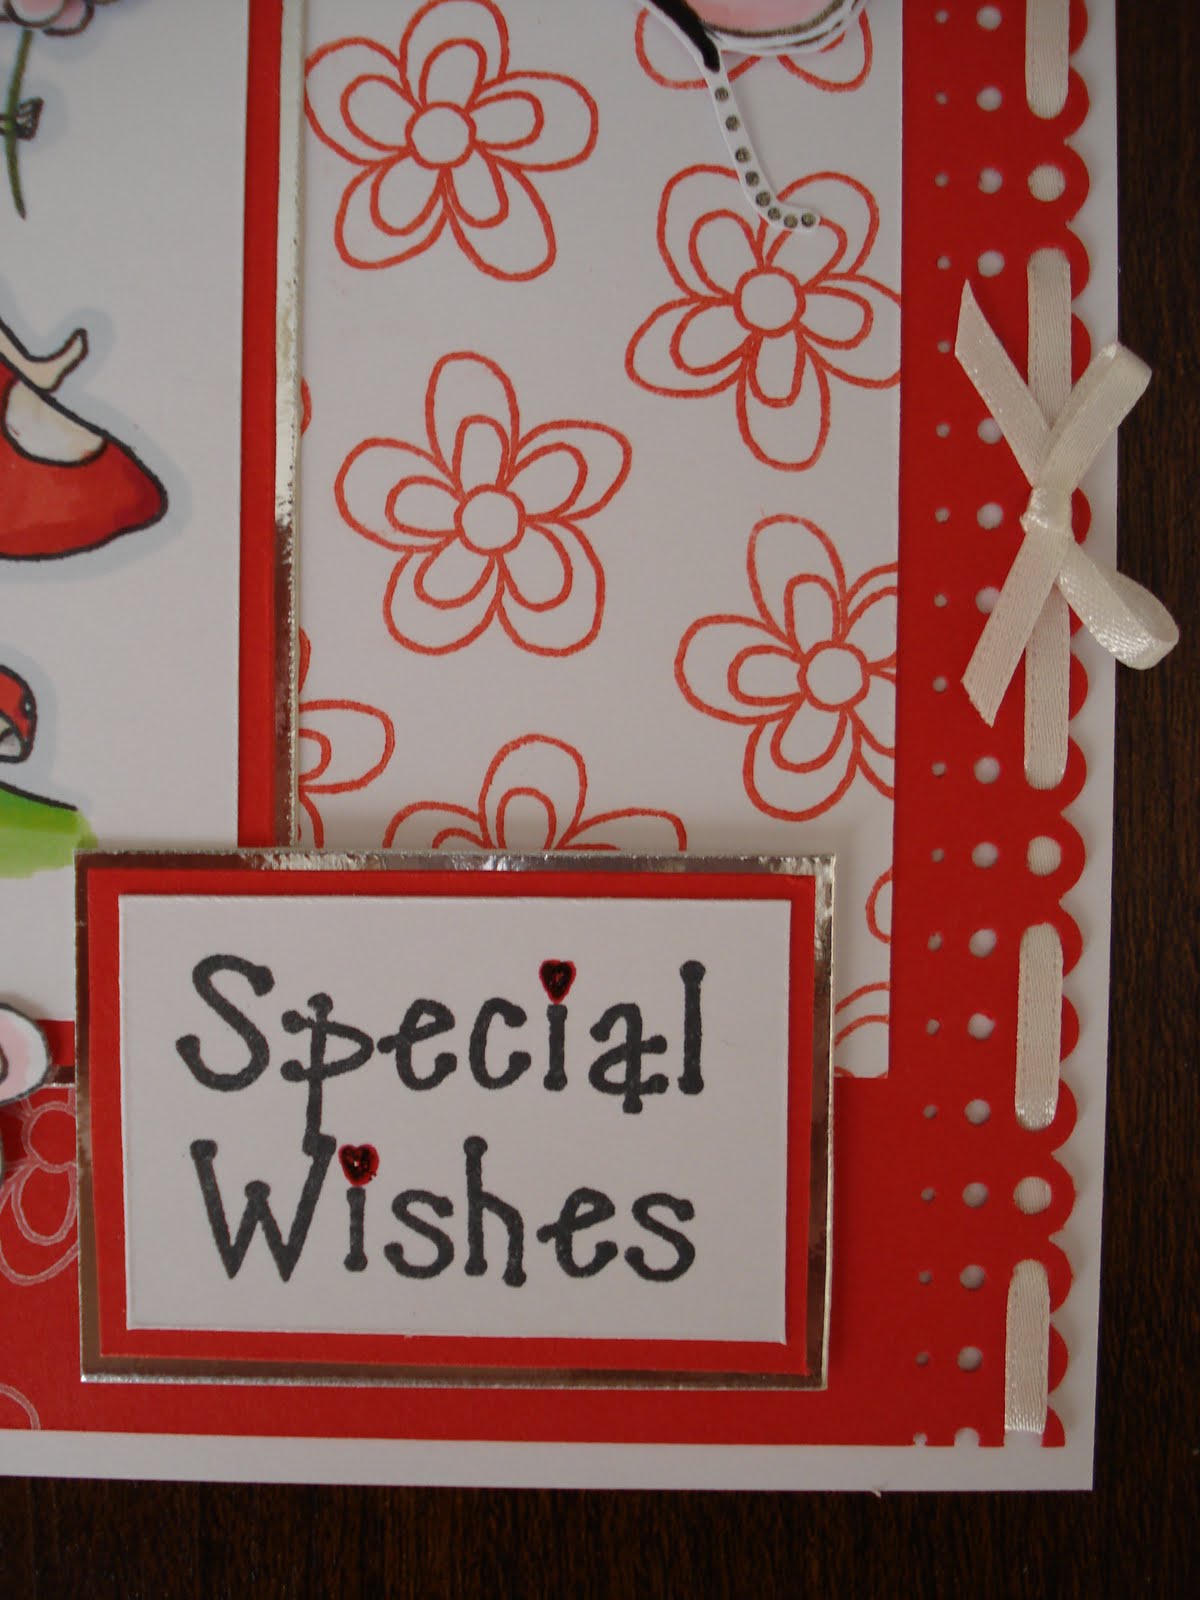
I stamped a greeting in the bottom right corner. I used the 'Thank you' stamp from the Happy Moments set. I make sure the greeting was straight and exactly where I wanted it I used my Stamp-a-ma-jig. This white panel was then attached the a panel of the red shade card.

For the bird's wing and the red frame I used either Ruby Red or Rose Red. I made four cards in total.


I cut a square of Kraft card. Along one edge I punched a scalloped edge using my Scalloped edge punch. I attached the bird panel to the card. I then added a strip of So Saffron ribbon the the Kraft card. This was then attached to a card blank. To finish I added a bow made so the So Saffron ribbon.


The cards...


Stampin' Up items used:
Card: Kraft, Ruby Red, Pumpkin Pie, Regal Rose, Rose Red and So Saffron
Stamp: Happy Moments (thank you text)
Punches: two step bird punch and scalloped edge punch
Other: Stamp-a-ma-jig and So Saffron Ribbon

Friday 25 June 2010

Lili of the Valley challenge card


This is my card this fortnights Lili of the Valley Challenge blog The challenge was a sketch challenge.


I choose to use Lili of the Valley 'Fairies on tiptoe' stamp. She was stamped with Memento ink pad and coloured in with ProMarkers. I added highlights with gold Sakura pen and diamond Stickles. She was mounted into a panel of dark blue card. I cut a square scalloped background panel using Nestabilities.


On a square card blank I stamped lilac flower pattern. The flower stamp is from Stampin' Up 'Simply Said' stamp set. I embossed a panel of lilac card using Cuttlebug flower embossing folder. I mounted this onto a panel of dark blue card. To follow the challenge sketch I added a strip of ribbon across the embossed card. Onto this I attached a strip of gingham ribbon and a bow. The greeting is by Craftwork Cards.


To finish I added a flower. The flower was cut using Marianne Design Creatables Ribbon Flower three Die. This is a new craft item I have (thank you Auntie Ruth who sent it to me). I attached the flower to the card using a diamond brad.

I layered up the final card following the sketch.

Thursday 24 June 2010

Craftwork Cards - sketch 2 challenge


This is my card for Craftwork Cards - sketch 2 challenge

For this challenge I used Craftwork Cards Blossom papers.

I started by cutting a large square of dark blue card. I used this as the main background panel. Onto this I attached a large square of the dark blue Blossom paper.


I cut a rectangle of dark blue card using Nestabilities. I used this to mounted the flower patterned image on. Using the inside same die to draw a rectangle on a piece of olive and cream Blossom paper. From the pink and dark pink Blossom papers I cut out the flower heads. I mounted these on the olive paper using foam pads.


In keeping with the sketch I added a strip of vellum across the large blue background panels. Onto this I attached a strip of cream ribbon. I tied a bow with the same ribbon and attached this to the ribbon. I finally added the flower patterned panel and a greeting to the card.

Wednesday 23 June 2010

I'm Top Five! ... again!


Good morning and what a great start to the day it's been as I've been voted Top Five on Passion for ProMarkers blog challenge with my Father's Day hedgehog card. Yippee!!

I was very pleased with the final card and my dad really liked it too.

This is now my third Top Five on this blog so far this year.

Tuesday 22 June 2010

Just Magnolia challenge card


This is my card for this weeks Just Magnolia blog challenge The theme of the challenge was 'In the garden'.

The main image is Tilda with Tulips. I have sat her on a watering can. The background scene, watering can, butterflies and little Tilda are also all by Magnolia.


All the elements were stamped with using a Memento ink pad and coloured in with ProMarkers. Gold highlights were added using a gold Sakura pen.

I cut a large square of green card for the background. Onto this I attached the background scene. I added stitching with a white Sakura pen and green pen to the card blank. I added the watering can and Tilda next. The butterflies and little Tilda were added around the main image. To finish I added a greeting by Craftwork Cards.

As featured on...

My Blossom Fairy DT call card has been featured on Little Claire Designs blog. Have a look! Little Claire Designs blog

Monday 21 June 2010

Little Claire - DT application entry


This is my card that I'm entering for the Little Claire Designs DT call. The stamp set I used for the fairy, flower background, butterflies and flowers embellishments is 'Blossom Fairy' by Little Claire Designs. I wanted to show how you could make a whole card with just one stamp set and that you could create your own backing paper and embellishments with it too.

The colour scheme I chose for the card was red, pink and white.


I stamped the fairy image, flowers and butterfly with a Memento ink pad. I coloured the images in with ProMarkers. To finish I added Glossy Accents to the toadstall dots, Stickles to the wings and centres of the flowers, and gold Sakura pen to the butterfly. I cut out the fairy and mounted her on red and silver card. I chose red as it brought out the colour of the toadstall.


The flower background paper was stamped with the flower from the Blossom Fairy stamp set. I used a scarlet VersaColour ink pad. I added the butterfly to the panel with foam pads.


I cut a large panel of red card for the background. I punched the edge with Martha Stewarts 3-scallop punch. I threaded white ribbon through the whole and finished it my attaching a bow, tied from the same ribbon, with PVA glue. The greeting was from the same stamp set. I added red Stickles to the hearts. I mounted this onto red and silver card.


I used the flower stamp to stamp white flowers on the red background panel. I used Stampin' Up white Craft ink pad. Once all the panel were attached the the card I added the cut out flowers to finish. These were either attached with double sided tape or foam pads.

Sunday 20 June 2010

Happy Father's Day


This is my card for Clare's Weekly Challenge on the DoCrafts website. This weeks challenge was a sketch challenge.

The main image is another new stamp of mine, 'Man of the Match' from the Moments in Time range from Flower Soft. I have been looking a the stamp for some time and being a football fan I just had to have it.


I stamped the image with Memento ink pad and coloured it in the ProMarkers. I stamped the football boots and ball again. I coloured these in again with ProMarkers and finished with Glossy Accents. I added these to the main image with foam pads. I mounted this onto a panel of green card.


I used the circle element of the sketch for the greeting. I used Nestabilities to cut out the greeting and the circle frame.

I cut a large panel of green card for the background. I stamped the football with white Kraft ink by Stampin' Up. The football was also from the 'Man of the Match' set. Onto this I added panels of green patterned paper following the sketch design. I added the image panel with brads. The card was finish with green card candy by Craftwork Cards.

Saturday 19 June 2010

Passion for ProMarkers - week 56 challenge


This is my card for this weeks Passion for ProMarkers challenge, Passion for ProMarkers challenge

The theme of this weeks challenge was a 'male themed card plus a sketch'. I choose to makes my Fathers Day card for the challenge. To keep with the male theme I chose to use brown and white as my main colours.


The hedgehog stamp I used was Garden Visit by Penny Black. It was stamped with Memento ink pad and coloured in with ProMarkers. I restamped the snail and the hedgehog feet and hands again. I coloured these in and attached them to the main image with foam pads. I added Glossy Accents to the snails shell. I used Nestabilities to cut out the circle and the scalloped frame.

On a card blank I drew stitching with a brown pen. I cut a large square of brown patterned paper. This paper and the white patterned paper was Secret Garden selection by Papermania. In keeping with the sketch I cut squares of brown and white patterned paper. I used my Cricut to cut these. I also cut the greeting into a square shape.


I attached the white pattern square onto the brown square. I added white stitching with a white Sakura pen. Onto the greeting square I attached a flower and leaves. These were also a stamp by Penny Black and coloured in with ProMarkers. To finish I added gold Stickles to the centre of the flower.


I attached the squares to the large patterned square. Across the top corner I attached a strip of green spotty ribbon. I tied a bow and attached this to the ribbon with PVA glue. I attached this panel to the card blank.

Friday 18 June 2010

On your Wedding Day


This is a Wedding Card I made this week. The stamps I used were 'Camellia & Border' stamp by Little Claire Designs, www.littleclaire.co.uk

I kept the colours scheme simple, gold and cream.


The wording, flower background panel and the corner sections were stamped with clear VersaMark ink pad and heat embossed with gold embossing powder. I coloured the flower corners with a gold Sakura pen and a wet paintbrush to spread out the gold colour.


The punched the corners of the flower background with Martha Steward flower corner punch. I mounted this on to square of gold card. Onto this I attached, with brads, a square of vellum. I mounted with greeting onto gold card and attached with the brads to the background. I added the flower corners with foam pads. To finish I added gold Stickles to the brads.

Tuesday 15 June 2010

Friendship Card


This is card I made for the June friendship card swap on the DoCrafts website. The card I received was so lovely I really felt I had to put extra effort into my card.

The card gave me the chance to use a some new Magnolia stamps I had recently bought. These were 'Love me' Tilda, a watering can, a snail and a grass & flowers stamp.


I stamped the watering can first. Using masking I stamped the grass around the watering can. On a separate piece of paper I stamped Tilda, the snail, daisy head and the butterflies. These were all coloured in with ProMarkers. I added Glossy Accents to the bodies of the butterflies and flower to add dimension. I used Nestabilities to cut out the watering can image and mounted it onto dark blue card. I attached the other stamped items onto the watering can image with double sided tape or a Quickie glue pen. I attached daisy head with foam pads. I used a gold Sakura pen to the flowers to finish.


I cut a large panel of dark blue card slightly smaller than the A5 card blank I was going to use. Onto this I attached a panel of blue and green flower patterned paper from the DoCrafts Hugs & Honey range. I punch two trellis patterned strips using the Martha Stewart Garden Trellis punch. I attached these with a Quickie Glue pen. Across the centre of the card I attached a strip of pink spotty ribbon. I attached the stamped image panel to this using foam pads. To finish I added a flowery brad and a greeting by Craftwork cards.

Sunday 13 June 2010

Clare's weekly challenge


This is my card for Clare's Weekly Challenge on the DoCrafts website, www.docrafts.co.uk

The challenge this week was an 'inspiration challenge' from a photograph. From the photograph I took my inspiration from the subject - the flowers, and the colours - bright pink, green and gold.


I began by stamping the large flower. The stamp I used was Flowerhead by Little Claire Designs, www.littleclaire.co.uk. I stamped it with a clear VersaMark ink pad onto bright pink card. I them heat embossed the flower with gold embossing powder. I attached small beads and a sequin with Glossy Accents. I've never used Glossy Accents before as an adhesive but I was very please now well it attached the beads. It seems very strong.


I stamped the flowerhead again on Shrink Plastic. I coloured it in with a magenta ProMarker and gold Sakura pen. Once it was dry I used a head gun to shrink the flower. Even thought I used Shrink Plastic before, it still amazes me how it works.


I chose to use a square card blank. Onto this I stamped the green background pattern using the V&A Collection - V&A Quilts 1700-2010 - Wildflower Background. I stamped the greeting with a VersaMark clear ink pad and heat embossed it. I used Nestabilities to cut the white and green squares. I were mounted these onto gold card and then onto each other. I attached this to the centre of the card and them added the flowers.