Showing posts with label Mark's Finest Papers. Show all posts

Tuesday, 10 January 2012

Thank you


This is my card for this week's Speedy Fox and Friends Challenge 89 - use brads or eyelets blog challenge.

The white lattice layer was created using a Martha Stewart Punch All Over The Page Punch Country Tile which I bought from Oyster Stamp. I love these punches. They are quick to use and create the most amazing effect. I punched six of the tile patterns onto white card. I then attached this onto a layer of green card.


I used Martha Stewart butterfly and wording stamps for the card also bought from Oyster Stamps. I stamped them using Stampin' Up Old Olive, Rose Red and Rich Razzleberry ink pads. I cut them out and added them to the card. To keep with the challenge I added brads to the punched panel before adding it to a card blank. To finish the card I added brown Dimension Pearls to the body of the butterfly.

Wednesday, 21 December 2011

Glitter baubles


This is my card for this week's Speedy the Cat's Friends Challenge Week 86. The theme is Make a Christmas Card.

I begun by stamping the baubles. The stamp I used was from Stampin' Up 'Contempo Christmas' stamp set. I stamped the baubles with clear VersaMark ink pad. I then heat embossed them using various colours of WOW embossing powder. I punched out the shapes with my Stampin' Up Baubles punch.


On a square of white card I stamped the green swirls with a Pear Pizzazz green ink pad. I used a stamp from Stampin' Up 'Season of Joy' stamp set. I attached the punched baubles onto the white square. I cut a slit above each bauble and on the swirl. I threaded ribbon through the slits and attached behind the square. On a square card blank I added square of red and gold card as well as the bauble square.


I stamped the greeting and punched out the shape with a Decorative Labels Stamoin' Up punch. I added this to the card with foam pads. I stamped small red flowers using a stamp from the 'Season of Joy' set. I added these to the card and added gold Dimension Pearls to the centre. To finish I added ribbon bows and faux stitching.

Tuesday, 29 November 2011

Oh Christmas Tree


The stamp I used for this Christmas Stepper card is Oh Christmas Tree by Red Gingham Designs available from Little Claire. I stamped it using a black Memento ink pad onto smooth white card. I coloured in the tree image with ProMarkers. For the fine detail I added the Letraset fine nips. I added sparkle with various colours of Stickles and a gold gel pen.


I mounted the image onto panels of gold card, brown and star patterned paper. Across the top corner I added a strip of ribbon. I mounted this onto a Stepper card blank.


I cut panels of gold card, brown and patterned page for the side panels. These were then attached to the card blank. I stamped the circles sentiment with a brown ink pad. The stamp I used is from the Christmas Text sentiments set also by Red Gingham Designs. I mounted this onto a brown and gold circles cut with Lacey Circles Nestabilities. To finish the card I added gold gems and a brown ribbon bow.


I am entering this card into Speedy the Cat's Friends Challenge #83 The theme is Make it Masculine. So I have used a colour scheme of mostly dark reds and browns.

Monday, 21 November 2011

White, black and red


This is my card for this week's Speedy the Cat's Friends Challenge Week 82. The theme is Black, White & One Other Colour.

I begun by punching the flower background panel. I cut a 5" square of white card. I punched the design using my Martha Stewart Punch All Over The Page Crochet Flower punch. I know it's not a traditional Christmas design but I felt the combination of red onto white gave quite a 'Scandinavian' feel. I attached the punch panel onto a square of red paper.


I stamped the centre greeting in black ink. The sentiment stamp is Red Gingham - Christmas Text circle sentiments available exclusively from Little Claire. I attached this onto a red and black circle cut with Nestabilities Lacey Circles dies. I added the greeting with foam pads to the centre of the card. To finish I added gems and faux stitching.

Tuesday, 15 November 2011

Stamping - I love it!


This is my card for this week's Speedy the Cat's Friends Challenge Week 81. The theme is 'Your Favorite Technique'. My favourite technique is stamping. I have also made a matching notebook to go with the card as a gift.


I begun by stamping all the rose and leaf images. The stamp set I used is 'A rose is a rose' by Stampin' Up. This is one of my favourite stamps sets that I have probably used more than any other. The stamps are two-part, you stamp the light colour first and then using a Stamp-a-ma-jig (stamping positioning tool) you then stamp the dark part of the image.


The ink pad colours I used for the items are all by Stampin'Up. I used Rose Pink, Pretty in Pink, Old Olive and Pear Pizzazz. I cut out all the piece and attached them to a card blank. I added faux stitching with a Rich Razzleberry pen. I used Cindy Loo Cricut cartridge for the lettering.


The stamped images and lettering on the notebook cover were created in the same was as the card. I also stamped the rose image on the inside pages of the book. I used my Cinch to bind the book together.

Friday, 4 November 2011

Snowflakes


This is my card for Speedy the Cat's Friends Challenge. The theme of the challenge is to 'Use Your Scraps'.

For snowflake background was a scrap of white card which I had used in my Cricut to cut snowflakes from.


I cut a square of blue glitter adhesive film and placed in onto the white card. I then cut around the edge of the square.


I added the snowflake panel onto a square of dark blue card.


I attached the panel onto a square card blank. I stamped a greeting in dark blue ink and mounted it onto a panel of dark blue card. I added the greeting and cut out snowflakes to the card.

Wednesday, 12 October 2011

Christmas white and blue


This is my card for the following challenges
Speedy the Cat's Friends Challenge Week 76 - No Designer Paper
Simply Stamping blog challenge - sketch

I have used Stampin' Up stamps to create all the background papers.


To begin I cut panels of white and dark blue card. One of the panels I punched with my Stampin' Up Eyelet punch. This panel I stamped with a snowflake design. The ink pad I used was Night of Navy and the stamp is from Season of Joy stamp set. The long strip and the other white panel was stamped with Baja Blue ink pad. The two flower stamps were from the Season of Joy set again. I stamped the dark blue card panel with white craft ink.


The main image is Dasher stamp. The greeting is from Contempo Christmas. I stamped the two snowflakes and punched these out with circle punches.

I layered all the panels onto a square card blank. To finish I added glitter and blue dots.

Wednesday, 5 October 2011

Dots and buttons


This is my card for the following challenges
Lili of the Valley - Button it
Speedy the Cat's Friends Challenge - Use Polka Dots
Divas by design - Button up

The stamp I used for the card is Maisie Sitting Pretty by Lili of the Valley. I begun by stamping the image with a black Memento ink pad onto smooth white card. I coloured in the image with ProMarkers. I cut out the image and mounted it onto a panel of red card.


For the background I cut two squares - one of red card and the other from white card. On the white card I stamped red spots using Real Red ink pad and Polka Dot stamp both by Stampin' Up. I added these to a square card blank.


I die cut the red swirls using a Marianne Design Creatables die. The flower layers were cut using a Spellbinders Nestabilities Rose Creations die. I embossed the flower layers using a spotty Cuttlebug embossing folder.


I stamped the greeting frame with Real Red ink pad and punch it out. The stamp and punch I used is by Stampin' Up. I added a peel off greeting which I had coloured with a red pen.

To finish the card I added red and white dots and red buttons.

Thursday, 29 September 2011

Ever so lovely


This card using a lovely new stamp by Little Claire called 'Ever so lovely'.

I begun by stamping the image with a black Memento ink pad. I coloured in the image with ProMarkers. I added highlights with Stickles. I cut out the image and mounted it onto panels of red and white card.


For the background I embossed a panel of red card. I embossed the bird design using my Cuttlebug All-in-one 'Thank you' embossing folder. Across the top I added a strip of ribbon. I also tied a bow with the ribbon and added this to the ribbon strip.

I attached the red and image panel to a scalloped card. I stamped a Little Claire circle sentiment with red ink. I cut it out using Lacey Circles Nestabilities. To finish the card I added gems and dots.


I am entering this card into this week's Speedy the Cat's Friends Challenge Week 74 - Things with wings. The image has a small bluebird and a lovely bird house so I though it would be ideal for this challenge.

Wednesday, 7 September 2011

Contempo Christmas


This is my card for this week's Speedy the Cat's Friends Challenge Week 71. The theme is Bring on the Bling!!!

The stamp set I used for the card is 'Contempo Christmas' by Stampin' Up. I begun by stamping the two baubles using Stampin' Up Real Red ink pad onto smooth white card. I also stamped the greeting in Old Olive. I attached two strip of gold ribbon to the card. I cut a small slit above each bauble which I threaded the ribbon through. I also attached a bow tied with the same ribbon. I rounded the corners with a corner punch.


I mounted the stamped panel onto a panel of gold card. I also rounded the corner of the gold card. I attached this all onto a card blank. I added red gems to the baubles. To finish the card I added gold dots around the edge.

Monday, 29 August 2011

Milly cuddle time


I am entering this card I have made into three challenges
I Love ProMarkers blog challenge - Paper piercing
Mark's Finest Papers blog challenge - Use lace on your card
Lili of the Valley blog challenge - Thank you

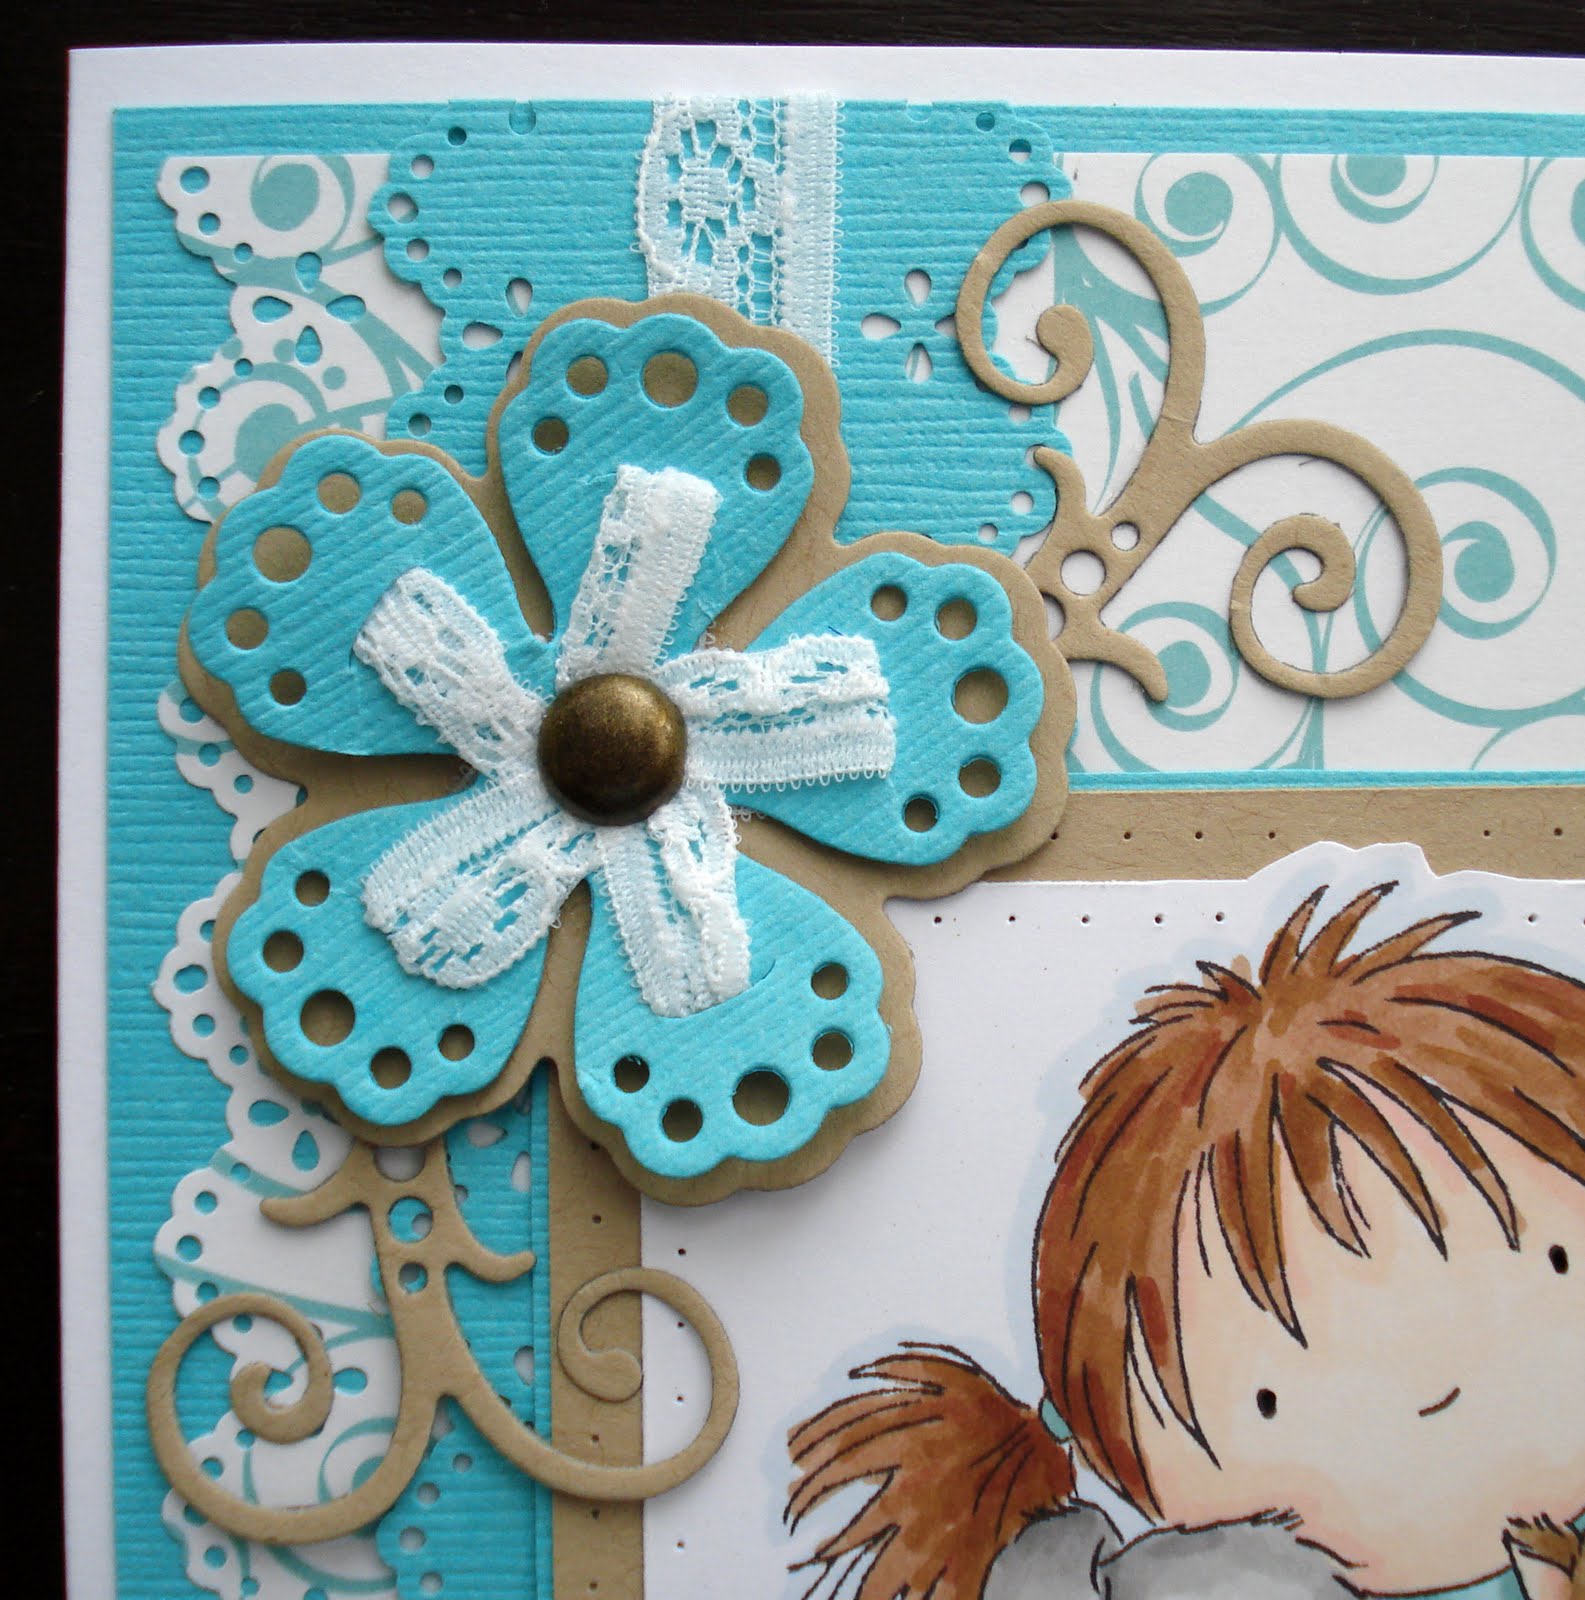
The stamp I used on the card is Milly cuddle time by Lili of the Valley. I begun by stamping the cute image with black Memento ink pad. I coloured it in with ProMarkers. I cut out the image and mounted it onto panels of Kraft and green card. Around the edge of the panels I pierced small holes using a pokey tool.


I cut the flowers and swirl shapes using a Marianne Design Creatables cutting dies. I threaded lace through the slits in the flower's petals. I cut panels of green and patterned paper for the background. I used my Martha Stewart Lacy edge and corner punches to punch the lacy pattern. I mounted these panels, and the image, onto each other and also added a strip of lace.


I attached the die cut flower with a brad. I also added a brad to the top corner.
To finish the card I added a circle sentiment from Red Gingham Die-Cut Mixed Sentiments pack.