Showing posts with label Cinch. Show all posts

Saturday, 14 January 2012

Little Claire Monthly Challenge 17 - DT project


This is my DT project for Little Claire Monthly challenge - 17. The theme of the challenge is 'anything but a card'.

The stamp I used is Flowerhead from Little Claire.

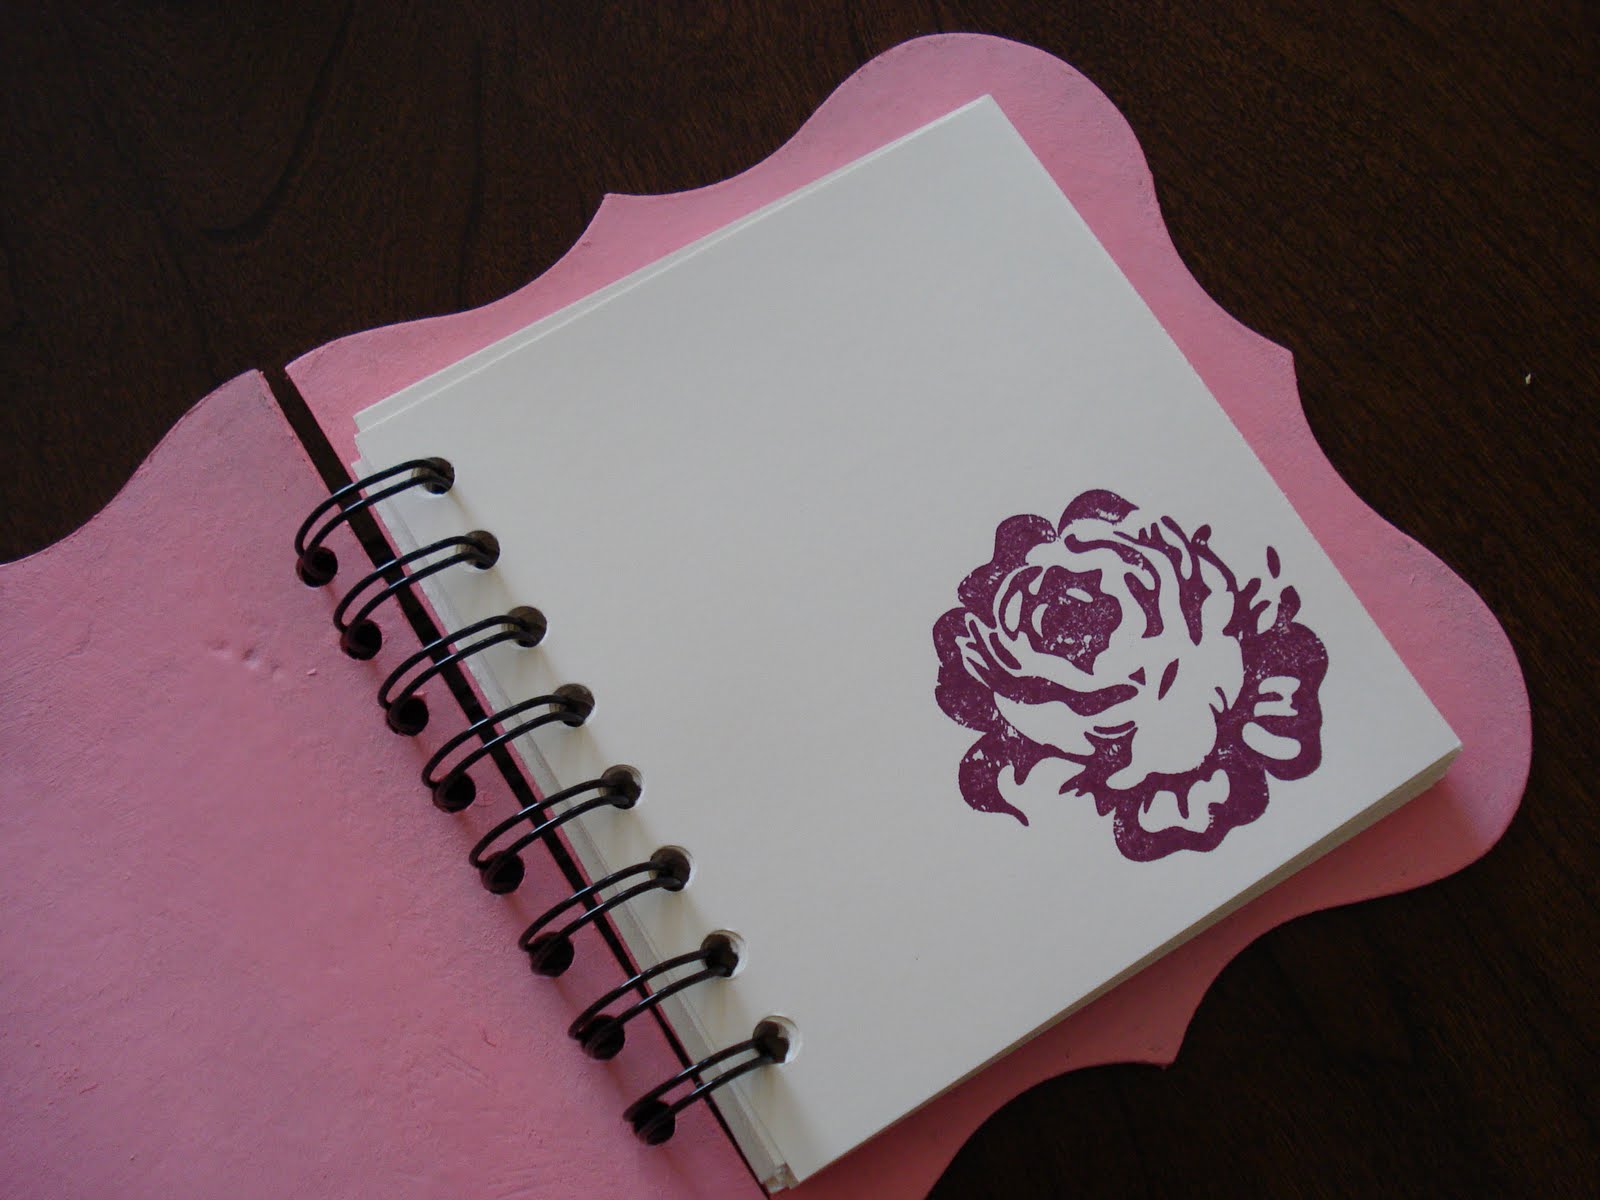
For the notebook cover I stamped the design onto chipboard panels using Stampin' Up Rose Red and Pretty in Pink ink pads. The chipboard panels already had a white covered top layer. I also stamped the flower onto smooth white card. I coloured the flower in with ProMarkers. I cut the image out and attached it what is going to be the front panel.


For the inside pages I cut rectangles of white paper. I stamped the image again in the bottom corner. To bind the notebook together I used my Cinch binding machine.

The flower charm was made using Shrink Plastic. I stamped the flower design onto the Shrink Plastic and left to dry before heating. I punched the hole before heating. To attached the charm to the notebook I thread pink thread through the hole and tied a knot. On half the thread I threaded two gold beads before tying another knot. I continues this up the thread.

Tuesday, 15 November 2011

Stamping - I love it!


This is my card for this week's Speedy the Cat's Friends Challenge Week 81. The theme is 'Your Favorite Technique'. My favourite technique is stamping. I have also made a matching notebook to go with the card as a gift.


I begun by stamping all the rose and leaf images. The stamp set I used is 'A rose is a rose' by Stampin' Up. This is one of my favourite stamps sets that I have probably used more than any other. The stamps are two-part, you stamp the light colour first and then using a Stamp-a-ma-jig (stamping positioning tool) you then stamp the dark part of the image.


The ink pad colours I used for the items are all by Stampin'Up. I used Rose Pink, Pretty in Pink, Old Olive and Pear Pizzazz. I cut out all the piece and attached them to a card blank. I added faux stitching with a Rich Razzleberry pen. I used Cindy Loo Cricut cartridge for the lettering.


The stamped images and lettering on the notebook cover were created in the same was as the card. I also stamped the rose image on the inside pages of the book. I used my Cinch to bind the book together.

Monday, 23 August 2010

Take note!


This is my first project using my new Cinch binding machine.

I used Papermania chipboard shapes for the cover. As these covers already had hole in them but weren't in the right place for the Cinch, I cut off the left hand edge straight. I punched the row of holes using the Cinch. I painted the cover pink using acrylic paint. I stamped a small rose directly on the pink covers. I used white Craft stamp pad by Stampin' Up.


The main rose design on the cover was stamped on white card. The stamp set I used was 'A rose is a rose' by Stampin' Up. I cut out the rose and leaf shapes and attached them to the cover using double sided tape.


I cut square of cream paper for the inside. I punched holes in the pages using the Cinch. I stamped roses and leaves on the pages before binding the notebook together.