Friday 28 December 2012

Little Claire's Friday Project


This card is my Little Claire's Friday Blog Project. For step-by-step instructions ffor my card, pop over to Little Claire's Blog.

Monday 24 December 2012

Hello Rudolph

 
This is a first Christmas card I made for my friends little baby girl. The stamp I used for the main image was Humphrey's Corner - Hello Rudolph stamp set by Crafter's Companion. I coloured the stamped image with Copics. The sentiment is from the Humphrey's Corner - 1st Christmas stamp set.

 
I used Nestabilities to cut out the coloured image and the scalloped pink frame. I punched a punch, Nestabilities and my Cricut to cut out the snowflakes that I used around the edge of the card. To finish I added Stickles for some festive sparkle and faux stitching.


Merry Christmas and a Happy New Year!

Wednesday 19 December 2012

To daddy

 
This is a Christmas card I have made for Megan to give to her daddy. I started by stamping and colouring the cute baby image. The stamp I used was Baby's First Christmas by Lili of the Valley. I stamped the image with a Tuxedo Black Memento ink pad. I coloured the image with Copics. I added Stickles for the sparkly snow and white flock to the hat for the fur. I mounted this onto a circle of dark green card.

 
I used a Craftwork Cards Easel Scallop Circle card as the base of the card. The patterned paper I used is from the Candy Cane range from Craftwork Cards. I used Craftwork Cards Printers Block stamps to stamp the 'to daddy' wording. I added each letter with a foam pad. The Card Candi I used for the stoppers and the sentiment die cut are also from Craftwork cards. To finish I added faux stitching and snowflakes with I cut with punches and my Cricut.

Saturday 15 December 2012

Little Claire's December blog challenge - DT card

 
This is my DT card for the new Little Claire Blog challenge number 28 that starts today. The theme of the challenge is 'Happy New Year'.
 
The prize for this month's challenge is a £15 Little Claire voucher to spend online. For more details about the challenge and other DT cards please see Little Claire's Blog.


For my DT card I chose the happy elephant stamp Armfuls of Wishes. I thought it would make a cheerful card to wish a happy new year to someone or as a Christmas gift thank you card. I stamped the image with a Memento ink pad and coloured it in with Copics. I mounted the coloured image onto dark grey card before attaching it to a shaped card blank. To finish I added die cut flowers and white Card Candi.
 

Tuesday 11 December 2012

Calendar

 
This is a calendar I made at Lisa.B.Designs workshop last Friday. It was the Christmas Party night so it was a fun night of crafting, prizes and a yummy buffet too. The calender was the main project we made during the evening.
 
After covering a chipboard shape with patterned papers I stamped the swirl designs with a black Memento ink pad.


The patterned paper and flowers were from the lovely Craftwork Cards Sugarplum Flower Pad. We added beautiful buttons to the centre of the flowers. I also added Stickles to the flowers and stamped swirls for added sparkle. I also added a die cut butterfly and Card Candi to the calendar.


Lastly I added the 2013 calendar. I was very pleased with my finish calendar and it will defiantly be going up in my craft room next year.

Thursday 6 December 2012

Winter Boofle

 
This is a Christmas card I have made using the cute little Boofle stamps. For the main Boofle image I used the Boofle stamp from the Boofle Christmas Tall Stamp Duo - Boofle & Penguin stamp set.
 
I stamped the image onto kraft, cream and white card  with a black Memento ink pad. I used the Boofle Patchwork Background stamps to added the knitted texture and the red gingham pattern. I coloured the hat and nose with ProMarkers. I cut out each section from the white and cream card, and added it to the Boofle I had stamped on kraft card. I added Glossy Accents to the nose and white flock to the fur hat.

 
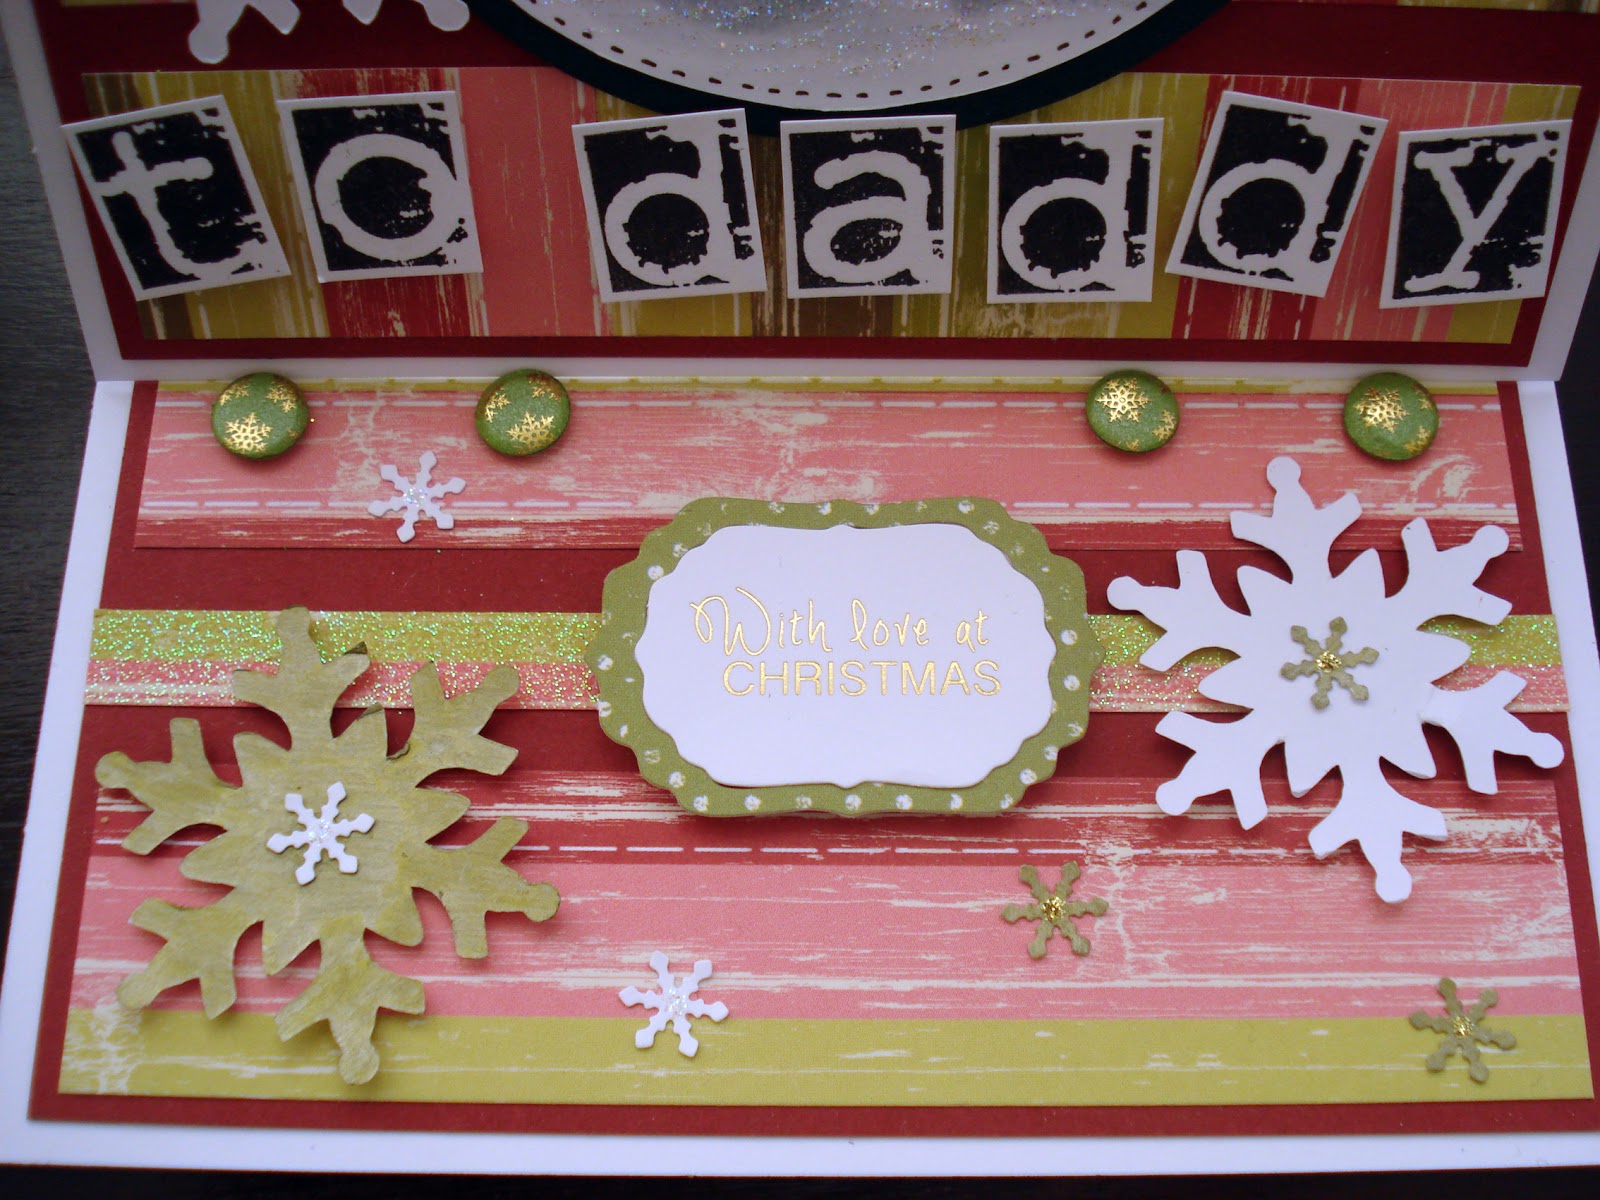
I cut a circle of white and dark blue card to mount the Boofle onto. I used a distressing tool to add blue ink to the top half of the circle. I used blue snowflake patterned paper for the background. I stamped the greeting onto a flag shape of white card. To finish I added snowflakes, Card Candi, Stickles and faux stitching.

Sunday 2 December 2012

Little Claire December Stamp Club set

Where has this year gone? I can't believe it's December already and of course the start of a new month means a new Stamp Club set from Little Claire. This month's set is Darling Daschunds. The  'Darling Daschunds' stamp set included four separate Daschund images, one 'Big Hugs' circular sentiment and three individual greetings.
 

These are two cards I have made using the stamp set. All the stamped images were coloured with ProMarkers. For the first card (above) I have used the stamps to create a patterned background.


For more information about the Stamp Club and other DT card samples please pop over to the Little Claire website.

Thursday 29 November 2012

Birthday flowers

 
This is a 60th birthday card I made using the pretty 'Bordering on Romance' stamp set by Stampin' Up. I used my new Copics to colour the stamped flowers images.
 
I cut a panel of smooth white card for the background which I stamped the outline of the small flower design on to form a patterned paper. I also stamped the larger images which I cut out and used in the corners. I added gold Dimension Pearls to the centre of the flowers. As I said I used Copics to colour the stamped images.

 
The centre strip was also stamped. The small flower strip was also from the Bordering on Romance stamp set. I added the stamped strip onto a strip of dark pink card. I used a Stampin' Up punch for the border.

 
I used my Cricut to cut the 60 from white and dark pink card. I attached all the panels onto a Craftwork Cards scalloped edge card blank.

Tuesday 27 November 2012

Kraft Birdhouse


Have you seen my Birdhouse Christmas card on Craftwork Cards blog today?

For my card I used Craftwork Cards Birdhouse Shaped cards. The patterned papers are all from the A Crafty Christmas cd rom.

For more details and photos please see Craftwork Cards blog.

Thursday 22 November 2012

Snowy Houses

 
This is my card for this month's The Artistic Stamper blog challenge. The theme is 'Anything goes'.
 
I begun by stamping the houses with a VersaMark ink mad onto white card. I heat embosses the images using WOW Silver Bells embossing powder. The houses stamp I used is Our House from The Artistic Stamper.
 
For the snowy background I used The Artistic Stamper's Random Dot background stamp which I heat embossed again but using white embossing powder this time. I used a foam Blending Tool and a baja blue ink pad from Stampin' Up to create the soft blue background sky.

 
For the snow hill landscape I tore one edge of from the top of two pieces of white card. I cut a square of silver card and mounted the houses and hills onto it with various thicknesses of foam pads. I also added a strip and bow of Stampin' Up baja blue seambinding.
 
I used the blending tool and baja blue ink pad again to add a soft blue edge to the card blank. The card blank is a Fanciful card from Craftwork Card. The greeting is also from Craftwork Cards.

I attached the house image to the card. To finish I added snowflakes and faux pearls.

Tuesday 20 November 2012

Craftwork Cards offers!

Craftwork Cards are having a 'Warehouse Wipeout' this Saturday at their Faactory Unit in Leeds. More details below...
 
 
If you can't make it to Leeds this Saturday then check out the Craftwork Cards blog every day this week where they will be forcusing on a different product that will also then be on offer that day at a special price!

Saturday 17 November 2012

Little Claire's November blog challenge - DT card

This is my DT card for the new Little Claire blog challenge that starts today. The theme of the challenge is 'Christmas'.
 
I used two Little Claire's stamps for my DT card, Village Scene for the main image and the tag is from the Christmas Tags stamp set.
 
 
The blog challenge prize is a  wonderful selection of Little Claire goodies :

Five Little Claire image die-cut sheets, two reels of ribbon, two packs of coloured bling stones and one packet of ribbon bows
 
 
I stamped the main image for my card with a Tuxedo Black ink pad. I coloured the image with ProMarkers. I used a grey and turquoise colour scheme for the card. I added Polar White FlowerSoft for snow and Star Dust Stickles.

 
I stamped the Christmas Tag onto the same patterned I used for the background on my card. To finish the card I added snowflakes, ribbon and gems.


For more details of the Challenge and other DTs cards, please visit Little Claire blog.

Friday 16 November 2012

Meltpot - part two

This is the second part of the embellishments I made at the Meltpot Workshop I went to last Saturday at The Artisic Stamper.

 
The first item we made on the workshop was this butterfly. It was made using an Image Transfer Technique. The autumn leaf design was transferred onto the back of the UTEE butterfly shape. Once the butterfly was dry, the leaf design had transferred onto the back of the butterfly.

 
The tag was decorated with Distressed Ink, Spiral Texture  and butterfly stamp. The dream wording from Journaling Words II stamp set. All the stamps are by The Artistic Stamper.
 

For the second embellishment I used the Baroque Background stamp to make an impression onto melted UTEE which had been poured into a memory frame.

 
The tag again was decorated with Distress Inks. The patterned background was Baroque Background stamp and the wording is from Journaling Words #1 stamp sets all from The Artistic Stamper.
 

Finally I decorated a chipboard flower shape with Distress Inks to start. I stamped Dots Background A6 stamp onto the flower in red. This was then dipped onto melted UTEE before pressing the Dots Background A6 stamp onto it to give the texture.


And just to remind you that I am running a half day card making workshop at The Artistic Stamper on Saturday 19th January 2013. For more details of mine and other workshop at The Artistic Stamper please see their website.

Wednesday 14 November 2012

Meltpot - part one

Last Saturday I went to a Meltpot workshop at The Artistic Stamper near Faversham. I have been thinking about buying a Meltpot for sometime but never having actually used one I thought this workshop was an ideal opportunity. And now I know I defiantly want one! This was also a crafty trip out instead of going to the NEC craft show. It was a really enjoyable workshop with a lovely group of ladies.
 
This photo (below) shows half of the items I made during the workshop.
 

The butterfly on the tag below was made from various coloured UTEE cut using a cookie cutter.

 
The stamps I used to decorate the tag were Bare Tree and Journaling Words II by The Artistic Stamper. I used Tim Holtz Distress inks to decorate the background of the tag and stamping the tree and leaves.

 
For the second tag I used a mould to create rose head embellishment. It was finished with a dusting of Perfect Pearls.
 
 
Again I used Distress inks to decorate the tag. The beautiful rose stamp is Botanical 3 by The Artistic Stamper. I love rose stamps so I think this will be going on my Wish List.
 
 
We also made Porcelain Flowers. The base flower shapes were stamped using a flower stamp from the Flower Power stamp set. Once the flower had been created the flower was dipped into the melted UTEE.


I am running a half day card making workshop at The Artistic Stamper on Saturday 19th January 2013. For more details of mine and other workshop at The Artistic Stamper please see their website.

Sunday 11 November 2012

60th Birthday cards

 
Have you seen my selection of 60th Birthday cards on Craftwork Cards blog today?

Friday 9 November 2012

A Christmas gift

 
This is my card for Lisa B Designs Monthly Blog Challenge. The theme of this month's challenge is Christmas Baubles.
 
I used two stamp set from Hobby Art for this card. The sentiment is from the Christmas Sentiments stamp set and the other stamps are from the Sharon Bennett Collection, Christmas Robins stamp set. The Christmas Robin stamp set contains 16 individual stamps so it allows you to create your own scene.

 
I stamped all the images with a Tuxedo Black Memento ink pad. I coloured the images with ProMarkers. I added green Stickles to the holly and glaze Sakura pen to the holly berries. For the holly berries next to the sentiment I used red gems. I mounted the coloured image onto square of gold and red card before adding them to a square card blank.
 

Tuesday 6 November 2012

News from Craftwork Cards

If you're a fan of Craftwork Cards, as I am, then here's a couple of bit of news you might like to know about.

Julie Hickey will be on QVC tomorrow at 2pm to share some lovely new Craftwork Cards kits. For a sneak peek of some of the samples from the show please see Craftwork Cards blog.

Also if you are lucky enough to tbe going to the Hobbycrafts Show at the NEC from Thursday 8th - Sunday 11th November then Craftwork Cards are offering a special 10% discount voucher for purchases on their stand, G30. Just pop over to Craftwork Cards blog to print out the voucher and more details.
 

Sunday 4 November 2012

Christmas Wreath

 
Why not pop over to Craftwork Cards blog today to see my wreath design Christmas cards I have made using a selection of lovely products from Craftwork Cards.

There's also a competition on this Craftwork Cards blog post to a bag of Christmas Candi!

Friday 2 November 2012

Little Claire's Friday project


Would you like an idea and step-by-step instruction on how to make this quick Chrismtmas card? If you would pop over to Little Claire's blog today to see my blog post and instuctions.

The stamp I have used is Little Claire's Christmas Beach Huts which is available at an special offer price of £4.50.