Monday 30 December 2013

Crafty Highlight of the Year

The card I have to share with you today I am entering into The Artistic Stamper Creative Team Highlight of the Year challenge. I made this card when I was Guest Designer on The Artistic Stamper Creative Team Blog in May this year. This is a link to the original blog post where there are more details and photos about the card.

 
It is my favourite card of the year and probably since I have been crafting. It took a long time to make but it was worth it.


I hope you all have a Happy New Year and Best Wishes for 2014!

Sunday 29 December 2013

Antique Rose wall hanging

A new blog post by me on Craftwork Cards blog today. A decorative wall hanging. A little sneaky peek below...
 

Friday 27 December 2013

Burlap Birthday

 
This is a birthday card I have made using Grunge Greetings stamp set from The Artistic Stamper and Tim Holtz Burlap layering stencil. I am entering this card into Decembers The Artistic Stampers Creative Team blog challenge. The theme is Anything Goes.
 
I started my creating the background design on the card blank. I used the Burlap stencil and Walnut Stain and Frayed Burlap Distress ink to colour through the stencil. I then stamped the birthday sentiment. I also stamped just the sentiment onto a strip of white card.

 
At the side I added a strip of chipboard. I used Grunge Paste through the stencil to add texture. Once dry I added Frayed Burlap Distress Paint. Once this was dry I sanded the top layer of paint to reveal the paste. I then added Distress Ink to the corners. Before adding the chipboard to the card I tied on a button which I made made with UTEE, my Meltpot and a mould. To finish I added faux Stitching and Dimension Pearls.


Monday 23 December 2013

Christmas Time

I have two Christmas cards to share with you today. One card is for my daughter Megan and the second card is for our Nephew for his first Christmas.
 
For both cards I used a Craftwork Cards 148x148 Scallop edge card blank. I scored and folded the front panel of the card in half to form a Z fold.
 
For Megan's card I coloured the edge of the card blank with Victorian Velvet Distress ink. I cut to panel of white card, one for the front and one for the inside of the card. I stamp holly and script stamp is Victorian Velvet and Tattered Rose Distress inks. The stamps I used were a script stamp from the Decorative Backgrounds and the holly strip from Christmas Robins stamp set both by Hobby Art.
 
 
I stamped the cute girl image with a Memento ink pad. I coloured the image with Distress inks. The stamp is Gift of Giving by Penny Black. I mounted the coloured image onto a coloured panel of card. I added the image to the front of the card with foam pads.
 
I used Craftwork Cards Printers Block letter stamps for the name lettering on both cards. To finish the card I added faux stitching, die cut snowflakes and Stickles.

 
For my second card I again used the same card blank and stamps to create the background. The stamp I used for the main image was Humphrey's Corner 1st Christmas. I stamped the image five times onto smooth white card with a Memento ink pad. I coloured in the layers with Copics. I cut out the layers and added them to the background circle with foam pads.

 
I attached the main image onto a scallop circle of dark blue card and then onto the card with foam pads. I added Stickles to the fur area on the Christmas hat. To finish I added blue Dimension Pearls to the corners of the card and small black dots with a fineliner.


Friday 20 December 2013

Jofy Christmas

This is a Christmas card I have made using Paperartsy Jofy Collection number 12 stamp set. This is one of my favourite stamp sets so I wanted to see if I could make a Christmas card from the set.
 
 
I started by distressing the edges of an A6 card blank with Antique Linen, Frayed Burlap and Walnut Stain ink pads. I stamped the sentiment with Walnut Stain ink pad. The sentiment stamps is by Hero Arts.
 
I then stamped the lovely flowers and grasses with Aged Mahogany distress ink pad. I used Barn Door and Fired Brick distress ink pads to colour in the flowers. To do this I stamped the ink pad directly onto an acrylic block and then added a little water. This then allowed me to use the ink as a paint.


In the background I stamped snowflakes with Antique Linen distress ink pad. The snowflakes are from The Artistic Stamper's Modern Christmas stamp set. To finish the card I added glitter to the flowers and corners of the card.


Thursday 19 December 2013

Winter birthday

A new card from me on Lisa B. Designs blog today. A little sneaky peek...
 

Friday 13 December 2013

Gelli scraps

I have two Christmas cards to share with you today. The coloured circles on both cards were punched from scraps of Gelli Plate prints I had done for some other Christmas cards I had already make. Details about the original prints can be found here on my blog.
 
I had kept the scrap offcut from the Gelli Plate prints as like any crafter I thought these might be useful. And for once I have actually used them!
 
For my first card below I started by stamping the sentiment. The stamp I used is Christmas Sentiments from The Artistic Stamper. I then punched circles from the Gelli Plate prints. I used a 3/4" punch. I attached the circles to the card and then used a black fineliner to draw in the lines and bows. For both cards I used a 119x119mm scallop edge card blank.
 
 
For my second card I used a 1/2" punch to punch-out the coloured Gelli Print circles. I then stamped the sentiment in the centre of the card. I drew around a metal circle die lightly with a pencil for the circle shape and then attached the coloured punched circles to follow the circle shape. I left a gap at the top for the bow. The bow is from Craftwork Card's Christmas Bow Paper pad. To finish I added a red punched circle to the bow and also added Glossy Accents to it.


Friday 6 December 2013

Canal Scene

The new Little Claire Stamp Club set for December is Canal Scene. It's a lovely set of four image stamps and two sentiment stamps.
 
These are two cards I have made using the set.
 
For my first card I stamped the images with a Tuxedo Black Memento ink pad. I coloured the images with ProMarkers. I stamped and coloured the swan image separately and added it with foam pads to the card. I added Glossy Accents to the water areas.
 

For my second card I used one of the sentiments stamps and the milk churn stamp. For the stamped flower pattern edges I used the flower section only of the milk churn stamp. I stamped and coloured the milk churn image separately again and added it with foam pads.


For more details about the Stamp Club and other DT samples, pop over to Little Claire's blog.

Thursday 5 December 2013

Christmas Angel

A new card from me on Lisa B. Designs blog today. A little sneaky peek...
 

Tuesday 3 December 2013

Beautiful flower

A new blog post from me today on Craftwork Cards blog. A little sneaky peek...


Friday 29 November 2013

Bird Song and Owls

I have four Bird themed cards to share with you today. These were sample cards I made for Hobby Art's recent show on Create and Craft.
 
My first two cards uses the lovely Bird Song stamp set. For both cards I started by lightly distress the edge of the card blanks with Tumbled Glass and Stormy Sky Distress Ink pads. I then stamped the bird images with Tuxedo Black Memento ink pad. I made sure the ink was completely dry before colouring the bird images. The sentiment for the first card is included in the Bird Song stamp set.
 
 
I used various Distress inks to colour the bird images. This gave me a lovely watercolour effect. I stamped the ink pad directly onto an acrylic block and then added a little water. I then applied the ink to the card with a paintbrush. The sentiment for my second card, below, is from Hobby Art's Inspirations stamp set. To finish both the Bird Song cards I then added gold and clear Wink of Stella.

 
My second two cards for today use the cute Owls stamp set from Hobby Art. I used the Inspirations stamp set for the sentiments on both cards too.
 
For by first Owl card, I stamped the owl, branch and sentiment image onto a lightly Distressed blue square of card. I then stamped the Owl image three more times. I coloured all the stamped image with Copics. I cut out sections from the Owl image and added it to the square with foam pads. I then added the coloured image and a die cut square to a kraft card blank. The die I used for the square is Spellbinders Fleur de Lis. To finish I added faux stitching and Glossy Accents to the eyes and beak.

 
For the final card for today I used the Owl stamp set again.  I stamped the Owls, branches, sentiment and items hanging from the branches with a Tuxedo Black Memento ink pad. I coloured the images with Copics. I added the coloured image to a panel of dark brown card before attaching to the card blank. To finish I added Wink of Stella and Glossy Accents to the eyes.


Thursday 28 November 2013

A gift for you

A new card from me on Lisa B. Designs blog today. A little sneak peek...
 

Monday 25 November 2013

Christmas Tree

Today I have a selection of Christmas cards to share with you all make using prints from my Gelli Plate. My first card below I am also entering into this months blog challenge on The Artistic Stamper Creative Team blog. The theme is Christmas. For all my cards in this blog post I have use The Artistic Stamper's Modern Christmas #1 stamp set.
 
 
To make my cards I started my printing a selection of papers on my Gelli Plate. I used Paperartsy Fresco Finish paints in Claret, Yellow Submarine and Beach Hut. The green tree paint was a mixture of Yellow Submarine and Beach Hut. I applied the paint to the Gelli Plate with a brayer. I then stamped the tree and snowflakes into the Gelli Plate paint, making sure to clear the stamp between each print. I also printed one plain blue print with no stamps stamped into it.

 
I then cut out the tree, red tub and yellow star from the printed paper. I used the blue snowflake and plain blue prints for backgrounds. This is a close-up of my first card. The sentiment stamp I used is also from the Modern Christmas #1 stamp set. I added a square of blue snowflake paper to a scallop edge card blank. I then added the tree and stamped sentiment. To finish I added black dots around the edge of the square.

 
For my second card I used a strip of the plain blue paper printed paper. I stamped black snowflakes on the paper once I had attached it to the card (not using my Gelli Plate). I used a Tuxedo Black Memento ink pad to stamp on the card. The sentiment was from the Christmas Greeting stamp set.

 
For my third and forth card I used torn strips of white paper for snowdrifts. I used the sentiment stamp for just a sentiment and also a background. I cut a squares of snowflake print paper and then attached the snowdrift strips before adding to the card blanks. I again added black dots around the edges to create a frame.


Thursday 21 November 2013

Hoot it's Christmas!

It's Thursday so please do pop over to Lisa B. Designs blog for my regular Thursday post. This week, Hoot it's Christmas!

Wednesday 20 November 2013

It's party time!

It's Christmas party time at The Artistic Stamper! A crafty fun day of make 'n' takes, shop offers, mince pies, mulled wine and more. It's on Saturday 7th December from 9.30am - 5pm.

More details on the poster below. Hope you can make it.

Monday 18 November 2013

Festive Gelli Plate part two - Claret red

I was so pleased with my first Gelli Plate snowflake Christmas card prints that I just had to do some more. My first cards where in shades of blue and can be seen here on my blog. For my next prints I used 
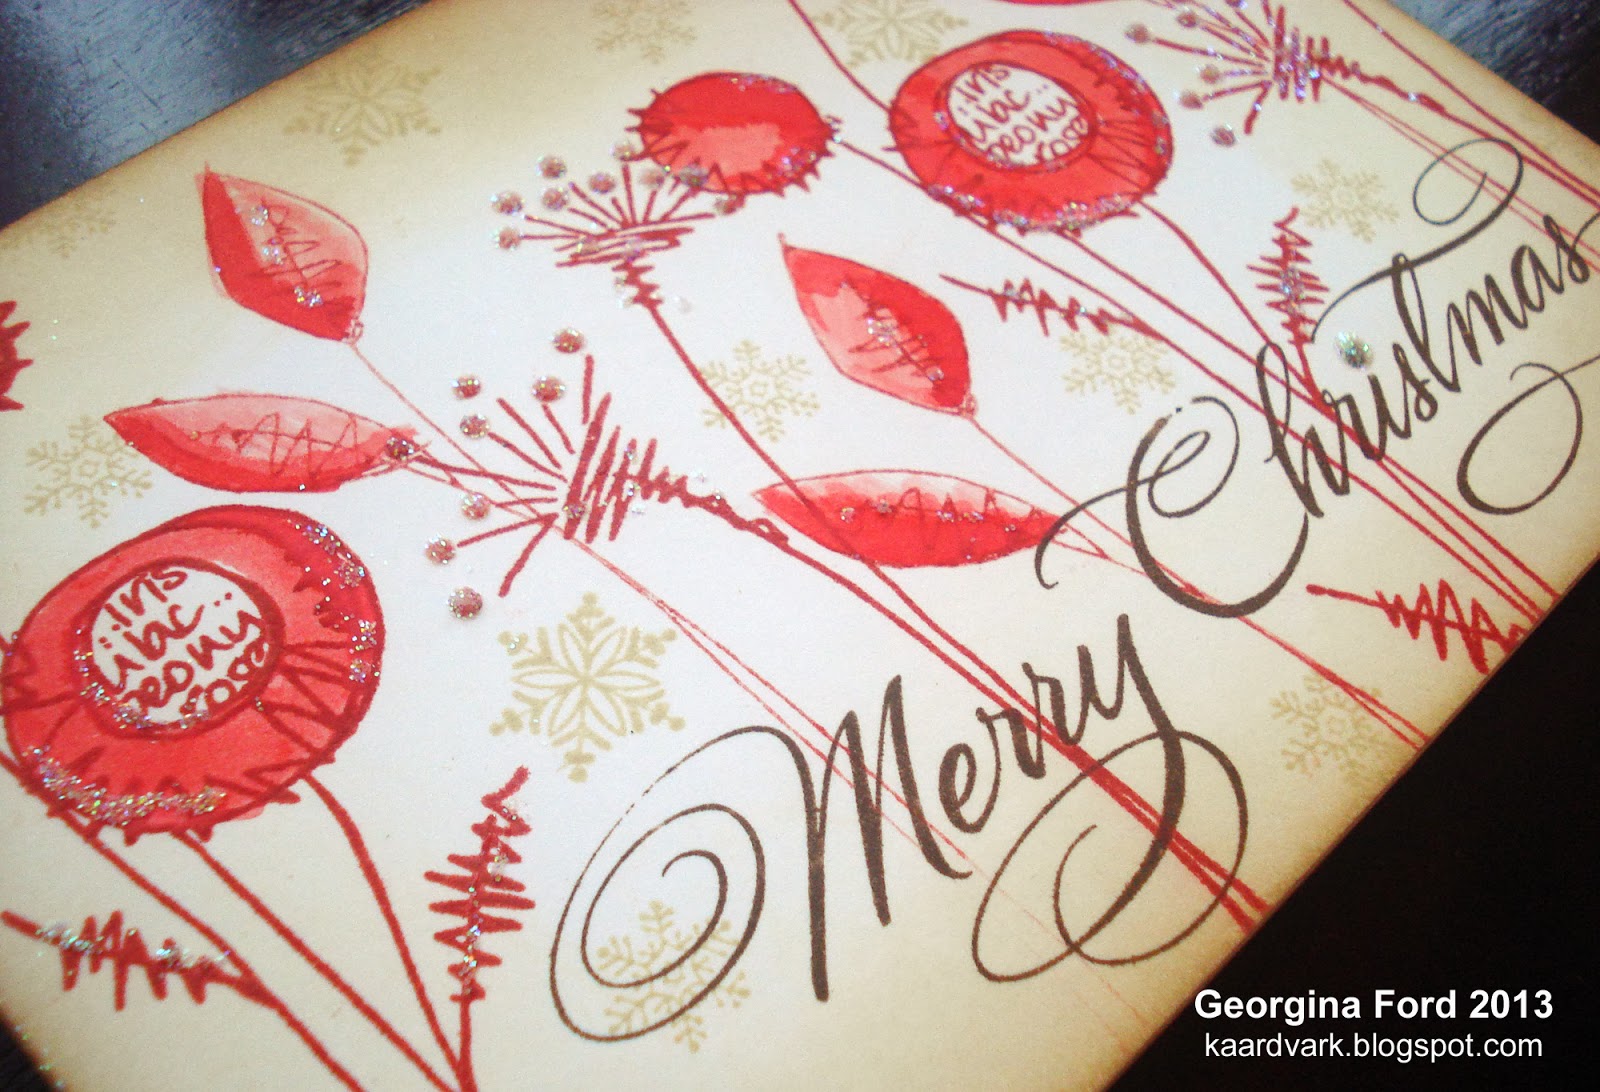
Paperartsy Fresco Finish paint in Claret. I thought this colour would be ideal for Christmas.

 
Below are the four cards I printed. The photo above shows a close-up of the first card below. The card blanks I used are 148x148mm Scallop Edge white cards from Craftwork Cards.
 
I added the Claret paint to the Gelli Plate with a brayer. I then stamped the snowflake stamp directly into the paint. I used The Artistic Stamper's Snowflake and Modern Christmas #1 stamp set for the snowflakes. I left a blank space on the card to add the sentiment. The sentiment is from The Artistic Stamper's Christmas Greeting #1 stamp set.
 
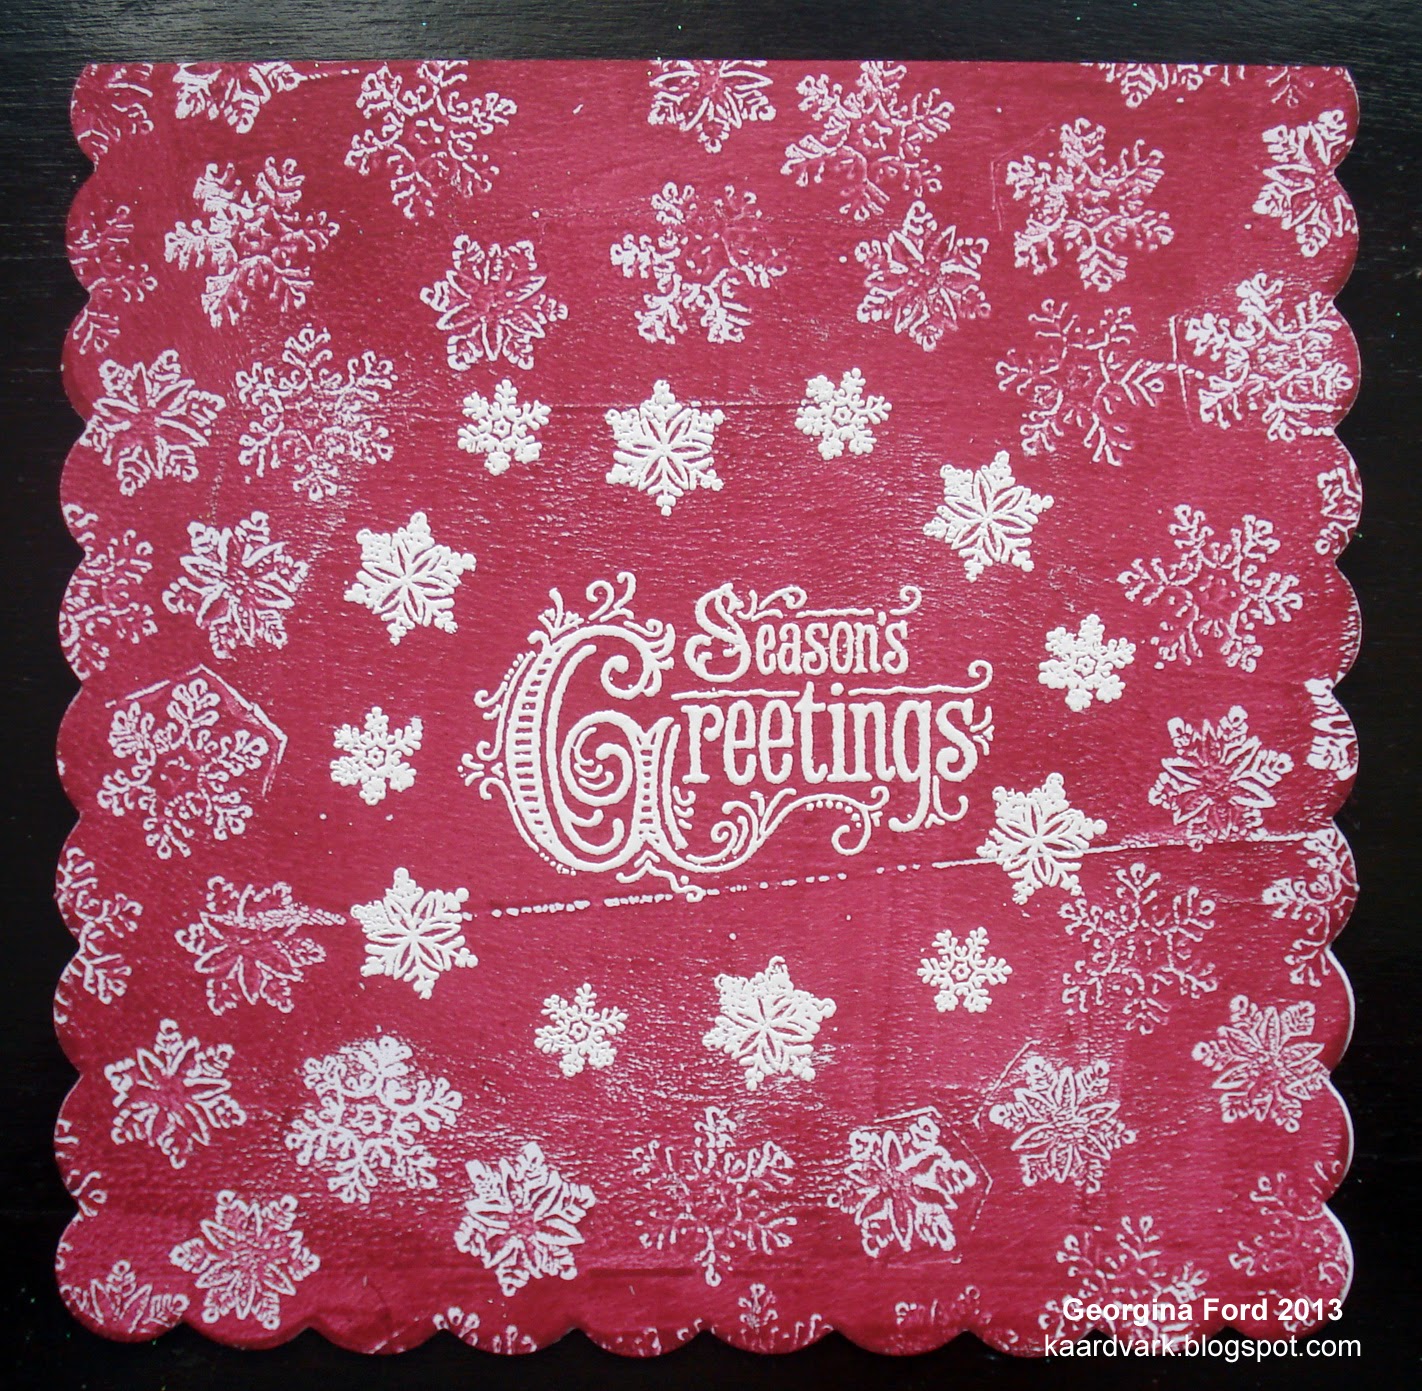
On my first card I heat embossed the sentiment and additional snowflakes. I used WOW! Opaque White embossing powder for the embossing.
 
 
For my second card I used the Gelli Plate to print all the snowflakes. I used just one size of snowflake on this card. For both this and my first card I cleaned the snowflake stamps between 'stamps'. By doing this each snowflake print is clearer.
 
 
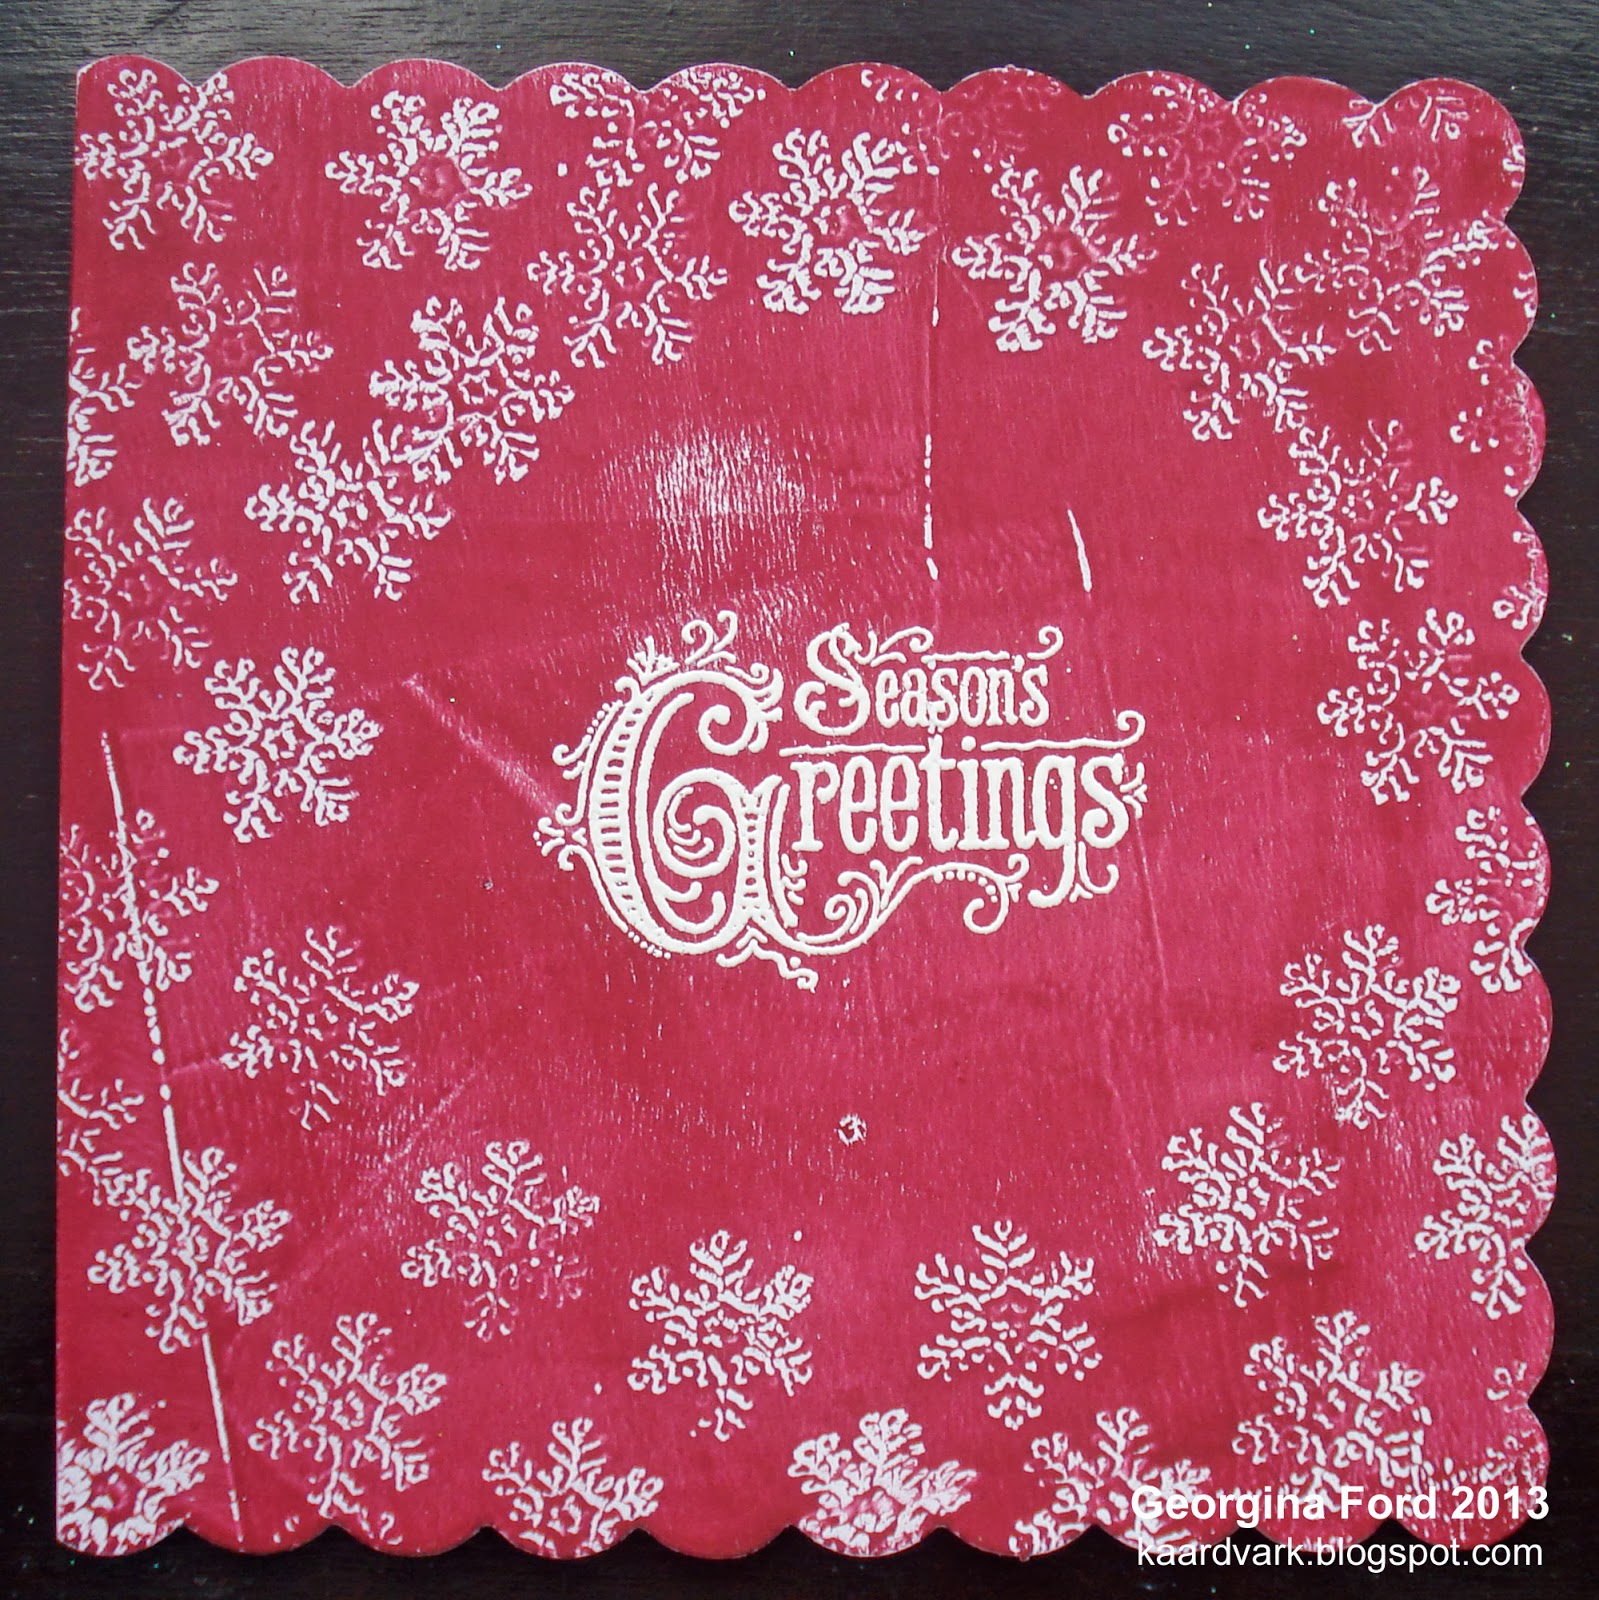
My third card below I heat embossed the small snowflakes around the edge. The larger snowflakes in the centre circle were stamped into the paint. As you can see the snowflakes aren't as clear as my previous two cards, this was because I didn't clean the snowflake stamps after every 'stamp'.
 

For my forth card I didn't add new paint from the bottle to the Gelli Plate, I just added the paint that was already on my brayer. This has meant the background red colour is lighter than the other cards. I just used the largest snowflake on this card. The sentiment was heat embossed again with WOW! embossing powder.

Saturday 16 November 2013

Little Claire blog challenge

A new monthly challenge starts today on Little Claire's blog. The theme of the challenge is Christmas. This is my DT card for the challenge.
 

I used Little Claire's Snowman Bunting stamp for my card. The sentiment is also included in the set. I used Distress inks to create the blue sky background. I added torn strips of paper for the snow drifts. I stamped the snowman with a Memento ink pad and coloured with ProMarkers and Copics. I cut him out and attached him to the card. To finish I added snowflakes and Stickles.

This month's prize for the blog challenge winner is


Dovecraft Christmas Tree Stamp
Little Claire Swirly Flowers Stamp
Little Claire Feed the Birds Stamp Set
36 Assorted Die Cut Sentiments
Assorted Christmas Greetings Sticker Sheet
5 12 x 12 Sheets Christmas Papers
 
For more details about the challenge or to enter, pop over to Little Claire's blog.

Thursday 14 November 2013

Eskimo Kisses

As it's Thurday it's my regular blog post on Lisa B. Design blog.

A little sneaky peek...

Monday 11 November 2013

Festive Gelli Plate

I have finally started to get on with making my Christmas cards. I made these cards with background I printed using my new Gelli Plate. I printed these following a recent workshop I went on run by Jennie at The Artistic Stamper.
 
I started by adding Paperartsy Fresco Finish paints onto the Gelli Plate with a brayer. I then stamped the Snowflakes stamp, from The Artistic Stamper, onto the paint. This left a snowflake pattern in the paint. I then pressed the card blanks onto the Gelli Plate to print the snowflake design on the card.
 
For the first card I used  Beach Hut and Inky Pool Fresco Finish Paints for the background print. Once the card was dry I stamped single snowflakes with a VersaMark ink pad. I then heat embossed them with Opaque Bright White WOW! embossing powder. The single snowflake stamps are from The Artistic Stamper's Modern Christmas #1 stamp set. On all the cards I added glitter to the snowflakes and sentiment for extra festive sparkle!
 

For the rest of the cards I just used Inky Pool Fresco Finish Paint for the background. For all the sentiments I stamped the sentiment onto paper I had coloured with Inky Pool paint. I then heat embossed them with the WOW! white embossing powder. The sentiment is from The Artistic Stamper's Christmas Greeting #1 stamp set.


For my final two cards I also added die cut snowflakes. The blue snowflakes I coloured with the Inky Pool paint to co-ordinate with the card background.


Thursday 7 November 2013

Festive Swirls

New cards by me on Lisa B. Designs blog today. A little sneaky peek...

Wednesday 6 November 2013

Design Team news!

I am thrilled to be joining the Design Team for Craft Stamper for 2014. I am looking forward to working on new projects and challenges. So look out for my project next year in Craft Stamper magazine.

More details about the new Design Team are on the Craft Stamper Blog.

Tuesday 5 November 2013

A sketch for November

It's my turn for the blog post on Craftwork Cards blog today. A little sneaky peek of my cards...
 
 
Why not pop over to the blog for a closer look?

Saturday 2 November 2013

Swirlball Flowers

It's the start of a new month so it's time for a new Stamp Club set from Little Claire. This month's set is Swirlball Flowers. The set includes lovely image and sentiment stamps.
 
These are two card I made with the set.
 
For my first card I used the large rectangle flower and butterfly stamp. I stamped it four times onto a square of white card with a Memento ink pad. I coloured the image with Copics.  I mounted this onto a square card which I coloured tinted with Distress Ink. I stamped the sentiment onto a diecut circle of white card. I also stamped and cut out two single butterflies. To finish I added Stickles and blue Dimension Pearls.
 

For my second card I stamped the single flowerhead all over a card blank. Onto this I added a rectangle of pink card. I stamped the large flower image onto a rectangle of white card. I coloured this with Copics.


For more details about the Stamp Club and to see other DT samples then pop over to the Little Claire website.